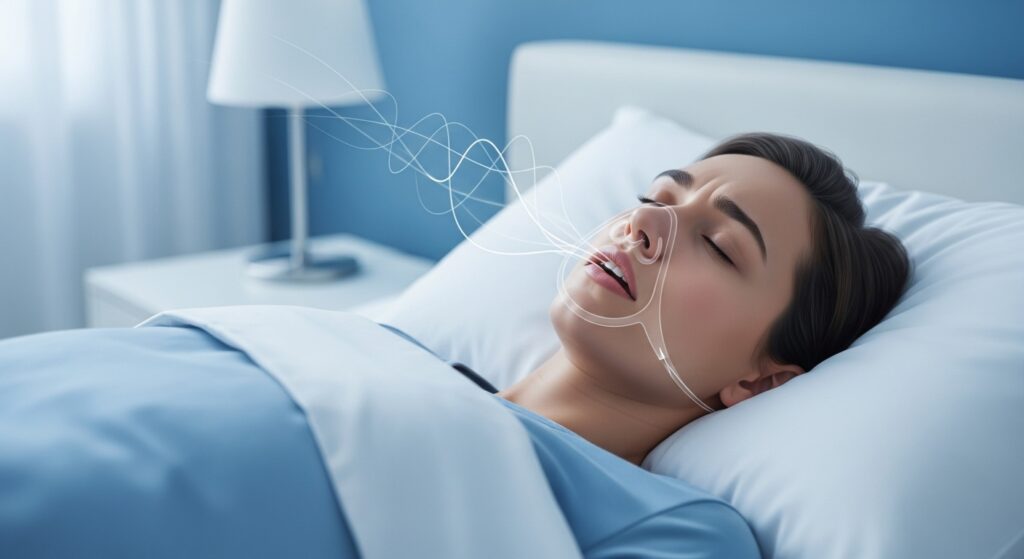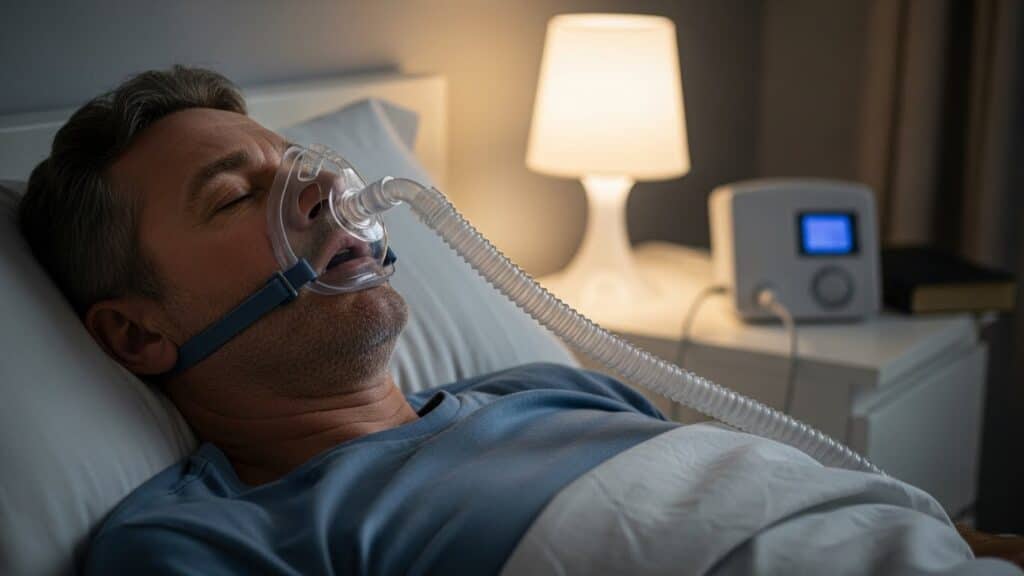
Mold is more than an unpleasant smell—it’s a hidden risk that can build up inside your CPAP tubing without warning. For anyone undergoing CPAP therapy, especially those using humidifiers or heated hoses, moisture creates a perfect environment for mold spores to grow.
Inhaling mold-contaminated air through a CPAP machine can cause respiratory irritation, sinus infections, and even chronic lung issues over time. But here’s the good news: you can stop mold before it starts—with a weekly routine that takes less than 15 minutes.
This article breaks down everything you need to know, from why mold forms to how to prevent it—step-by-step.
Why Mold Grows in CPAP Tubing
Your CPAP machine delivers pressurized air through tubing. When used with a humidifier (especially a heated one), that air carries moisture. Some of it condenses inside the tube, especially if:
- Your room is cooler than the humidified air
- You don’t drain and dry the tubing after use
- You rarely clean the hose and let water sit inside
- You leave the hose attached to the water chamber when not in use
That moisture creates a wet, dark, and warm space—ideal for mold spores to multiply.
The Centers for Disease Control and Prevention (CDC) confirms that exposure to mold can trigger coughing, throat irritation, nasal stuffiness, and even asthma-like symptoms, especially in those with allergies or weak immune systems.
How to Spot Mold in Your CPAP Hose
Mold isn’t always obvious. Here are some signs to watch for:
- A musty or sour smell from the tubing
- Visible black, green, or brown patches inside the hose
- Allergy-like symptoms worsening after CPAP use
- Frequent coughing, sneezing, or sore throat in the morning
Even if you don’t see mold, it’s still possible for spores to be present—so prevention is always better than detection.
The Weekly CPAP Mold Prevention Checklist
Here’s your easy-to-follow 7-step routine to keep your CPAP tubing mold-free.
Step 1: Disconnect and Empty
Remove the tubing from both the machine and the mask. If you’re using a humidifier, pour out any remaining water from the chamber.
🔄 Pro Tip: Disconnect your tubing every morning to air it out, even between weekly cleanings.
Step 2: Wash with Warm Soapy Water
Fill a clean basin with warm water and mild dish soap (fragrance-free). Submerge the tubing and let it soak for 10–15 minutes. Swirl water through the hose to loosen debris and film.
According to Sleep Apnea, this weekly wash prevents biofilm and buildup that contribute to mold.
Step 3: Rinse Thoroughly
Run clean, warm water through the tubing several times. Hold both ends under a faucet if needed. Make sure all soap is removed, as leftover residue can encourage mold and bacteria.
Step 4: Disinfect (Optional Weekly Boost)
Use a 1:3 white vinegar and water mix to soak the tubing for 10 minutes. This helps neutralize mold spores and prevent new growth. After soaking, rinse again thoroughly.
You can also use CPAP-safe cleaning tablets like those mentioned by the American Sleep Association if vinegar isn’t your preference.
Step 5: Hang to Dry Completely
This step is critical. Shake out excess water and hang the tubing over a towel bar, shower rod, or CPAP drying rack. Avoid direct sunlight or heaters, which can warp the material.
Even small drops of water can create enough moisture for mold to return—let it air dry fully before reattaching.
Step 6: Clean the Humidifier Chamber
Mold often travels from a dirty water chamber into the tubing. Use the same soap or vinegar method weekly. Let it dry upside down on a clean towel.
⚠️ Always use distilled water in your humidifier. Tap water can leave behind minerals that promote bacterial or fungal growth.
Step 7: Store It Right
Once dry, store your CPAP gear in a clean, dry location—not in damp bathrooms or inside sealed containers. Avoid reattaching the tubing to a closed humidifier reservoir until you’re ready to use it.
How Often Should You Replace CPAP Tubing?
Even with perfect hygiene, CPAP hoses aren’t built to last forever. According to Medicare guidelines, tubing should be replaced every three months.
If you notice:
- Persistent smells
- Discoloration inside
- Cracks or stiffness
- Poor air pressure
…it’s time to swap it out.
Do Heated Hoses Increase Mold Risk?
Heated tubing reduces “rainout”—condensation inside the hose. But if not cleaned properly, it can still collect moisture at the mask end or around fittings.
If you use heated tubing:
- Follow the same cleaning steps
- Make sure it’s dry before plugging it back in
- Occasionally check the electrical connectors for moisture
Some machines, like those listed on ResMed’s CPAP device page, even let you adjust humidity levels and tube temperature to reduce condensation altogether.
Common Mistakes That Invite Mold
Avoid these habits:
- Skipping weekly cleanings
- Letting water sit in the hose or chamber
- Drying tubing by blowing into it (spreads bacteria)
- Storing wet gear in a closed bag
- Using essential oils in the water chamber (never recommended)
These mistakes can make your equipment look fine on the outside while harmful spores build up where you can’t see them.
Symptoms Mold Could Be Affecting You
If you’re using a CPAP regularly and feel worse in the morning, it could be mold:
- Morning headaches or congestion
- Sneezing, coughing, or runny nose
- Increased fatigue or shortness of breath
- Asthma flare-ups
If these symptoms ease when you stop using your CPAP, inspect your tubing immediately.
Final Thought: Prevention Is Maintenance
A mold-free CPAP setup is more than clean—it’s safer and more effective. Respiratory therapy works best when all components are kept dry, disinfected, and stored properly. Adding a 10-minute cleaning habit each weekend can mean the difference between long-term results and frequent complications.