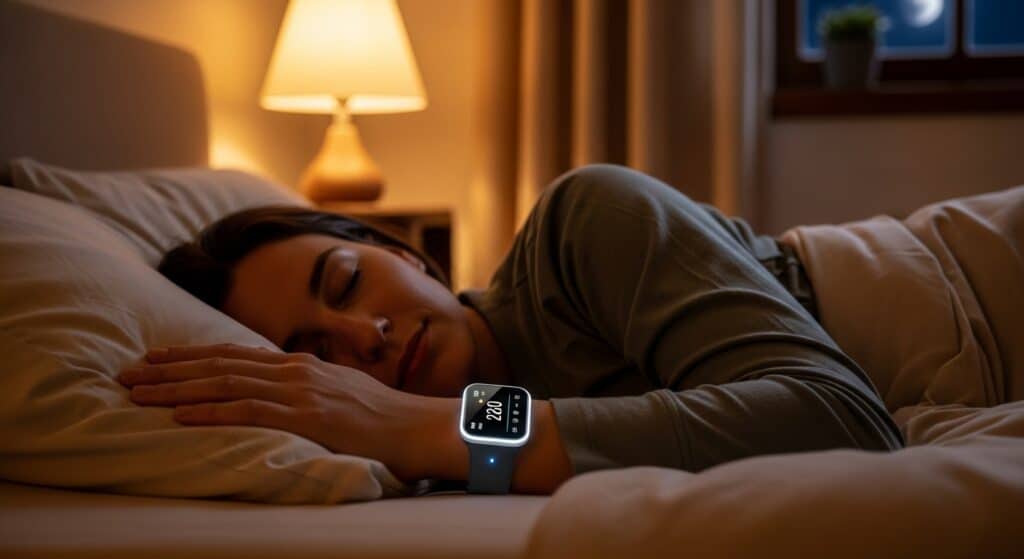
If you’ve been prescribed a home sleep test, chances are you’re hoping to get clear, actionable results without the hassle of retesting. While today’s home kits are built for ease and reliability, how you prepare, wear, and sleep with them on that first night can influence the data quality.
In this post, we’ll walk through exactly how to get the most accurate sleep apnea data on night one—without adding stress to your evening.
Why Night One Matters
Home sleep studies typically span one or two nights, but your first night’s data often plays a major role in your diagnosis. That’s because:
- Sleep architecture on night one tends to reflect baseline breathing habits
- Most users only sleep with the equipment once due to comfort
- Physicians reviewing the data may only receive one usable night’s report
Poor setup can lead to incomplete airflow data, sensor disconnection, or false negatives, especially in cases of mild obstructive sleep apnea (OSA). To prevent that, a few practical steps go a long way.
Start with Good Sleep Hygiene
Before focusing on the device, make sure your sleep setting is optimized. A cool, dark, and quiet room helps ensure you’ll fall asleep fast—which gives the test more data to work with. Avoid:
- Caffeine or alcohol within 4–6 hours of bedtime
- Heavy exercise or blue light exposure before sleep
- Late meals or high-sugar snacks
According to the Sleep Foundation, these changes support deeper and more consistent sleep cycles—making your apnea patterns easier to detect.
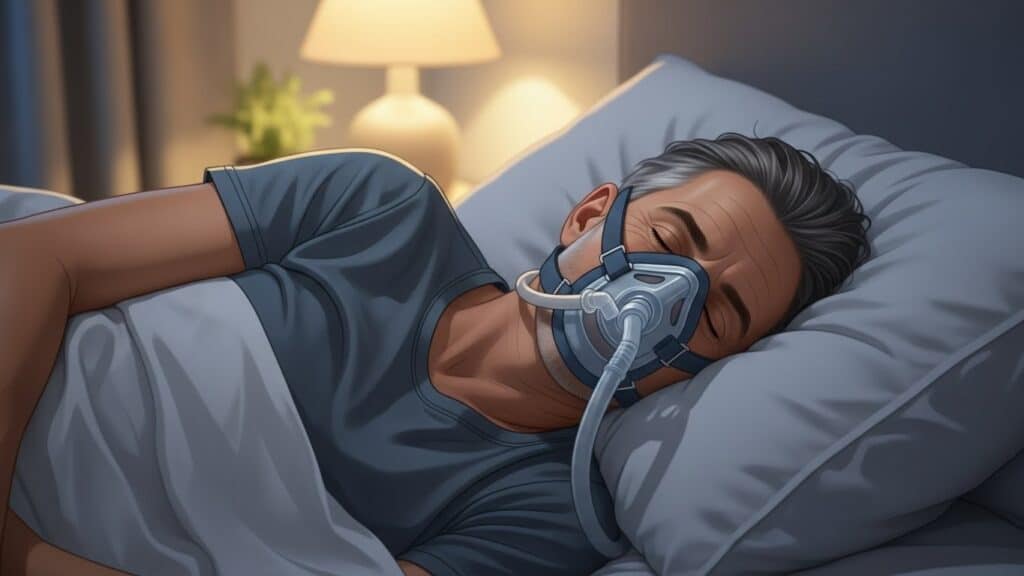
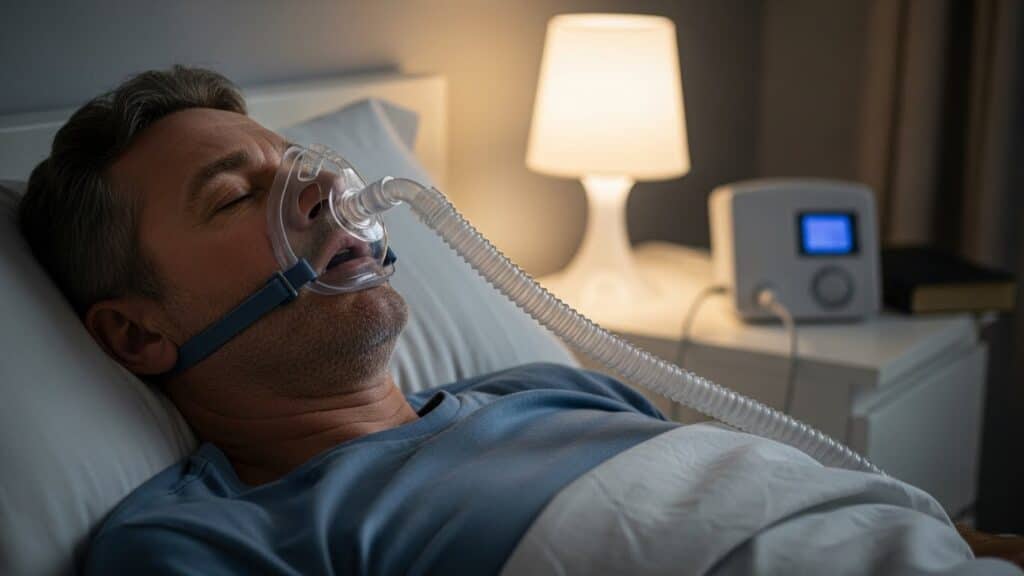
Follow the Setup Instructions Carefully
The test kit will likely include:
- A finger pulse oximeter to track oxygen levels
- A nasal cannula or airflow sensor
- A wearable recorder (often worn on the chest or wrist)
To avoid signal loss:
- Apply all sensors as instructed, securing them with provided tape
- Double-check that cables aren’t too loose (can slip) or too tight (can restrict blood flow)
- Test the light or indicator on the device to confirm it’s recording
If you’re using our kit, our support team is available by text or phone to walk you through the process—because correct placement = better data.
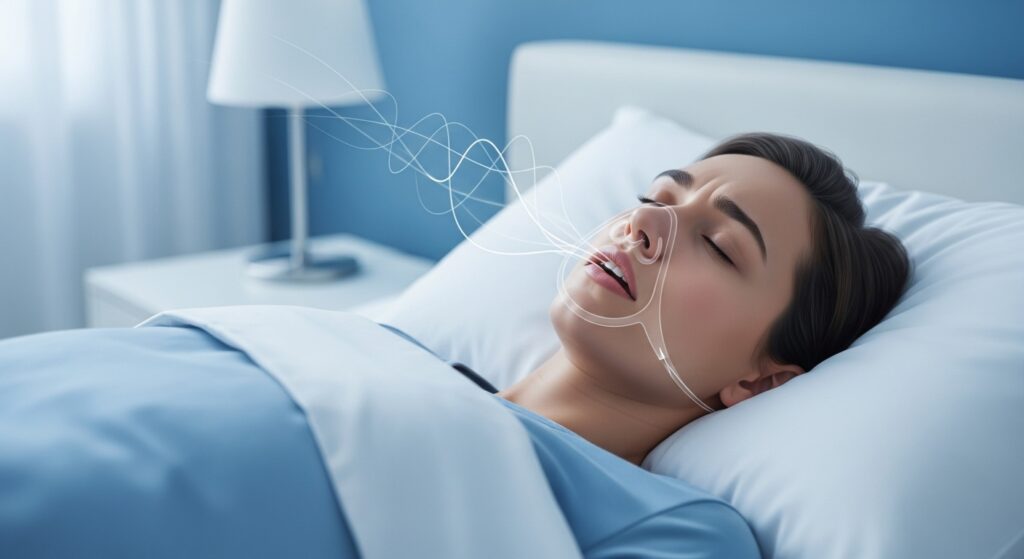
Nasal Cannula Positioning Is Crucial
The airflow sensor, typically a thin nasal tube or cannula, plays a major role in identifying apneas and hypopneas. Without proper airflow data, the device can’t reliably detect breathing pauses.
Here’s what to do:
- Insert the cannula tips gently into each nostril, making sure they’re not crimped or bent
- The loop should go under your chin, not over your ears
- Avoid sleeping with your face buried in the pillow—it may displace the cannula
According to clinical guidelines by the AASM, airflow measurement is essential in differentiating between normal snoring and apneas, so double-check the fit before sleep.
Go to Bed at Your Normal Time
Don’t stay up late trying to “force” fatigue. Go to bed around your usual time so that:
- REM cycles occur naturally (when apneas are most likely)
- You don’t alter your normal breathing or sleep position
- The device can capture data across a full range of sleep stages
Changing your routine—like sleeping in a recliner or trying to stay in one position—can skew your baseline breathing patterns.
If You Wake Up, Don’t Panic
Waking up in the night wearing equipment can feel strange, especially for light sleepers. If this happens:
- Avoid removing sensors unless you absolutely need to
- If you do, reapply and restart recording if possible
- Make a note (in the app or on paper) of what time you woke up
Even fragmented sleep can offer enough diagnostic data if the sensors stay in place.
What to Do the Morning After
Once you’re up:
- Remove the sensors gently, taking care not to pull cords abruptly
- Place them back in the return package (if disposable) or follow sanitizing instructions (if reusable)
- Upload the data using the instructions provided (most kits sync automatically)
From there, your results will be reviewed by a licensed provider, who will assess for apnea indicators like oxygen desaturations, AHI (apnea-hypopnea index), and breathing patterns during REM.
Common Mistakes to Avoid
- Forgetting to turn the device on or press “start”
- Sleeping in a way that dislodges sensors
- Going to bed too late or with elevated stress
- Skipping key parts of setup—especially the airflow sensor
These small mistakes can cause false readings or incomplete reports. But don’t worry—our team reviews each result manually, and if a retest is needed, we’ll let you know and ship another kit if required.
Bonus Tip: Start with an AI Facial Scan
Not sure if you need a home sleep test yet? Our AI facial scan gives you a risk score in under a minute, based on facial markers linked to apnea—like jaw angle, neck width, and cheek structure. It’s a quick, non-invasive first step before scheduling a test.
Final Word
Getting accurate data on your first night with a sleep test is about proper setup, comfort, and natural sleep behavior. With finger sensors, nasal cannulas, and wearable recorders becoming less bulky and more accurate, testing at home is easier than ever.
Just follow the steps, sleep like normal, and trust the process. You’re one night closer to understanding your breathing—and waking up more rested.