Why Home Sleep Testing is Gaining Popularity?
Learn how to prepare for sleep apnea test at home is far simpler than most anticipate. Modern home-based devices capture clinical-grade data without the need for an overnight stay in a lab. More people are choosing an at-home sleep apnea test for its comfort, reduced wait times, and significantly lower stress. This step-by-step guide will walk you through exactly how to prepare for your sleep apnea test at home to ensure accurate, reliable results.
Understanding How At-Home Sleep Apnea Tests Work
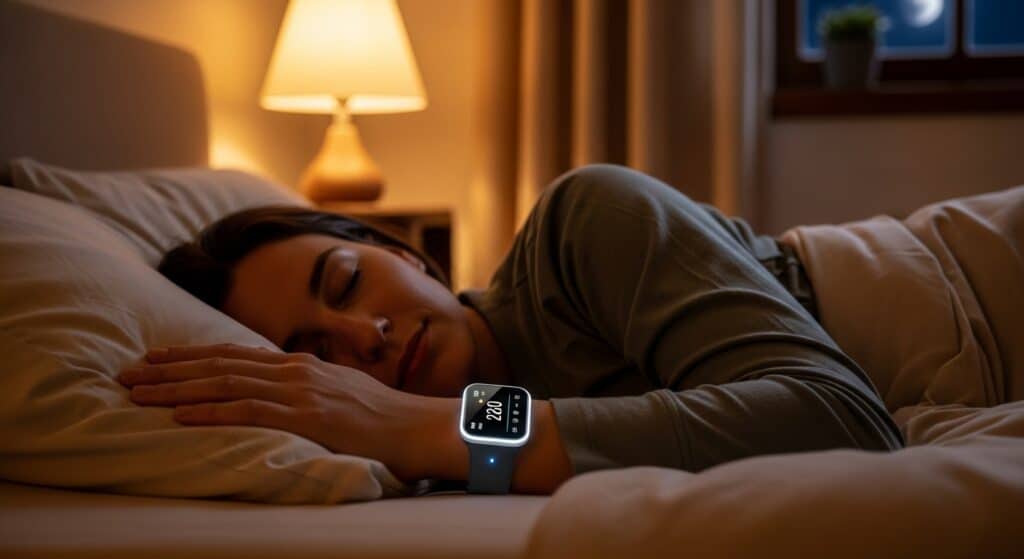
An at-home sleep apnea test allows you to complete a diagnostic assessment in your most familiar environment: your bedroom. This method is ideal for anyone seeking privacy, comfort, and convenience. Since you will be conducting the study independently, knowing how to properly prepare for your sleep apnea test at home is the key to a smooth process and valid results.
How an At-Home Sleep Apnea Test Works
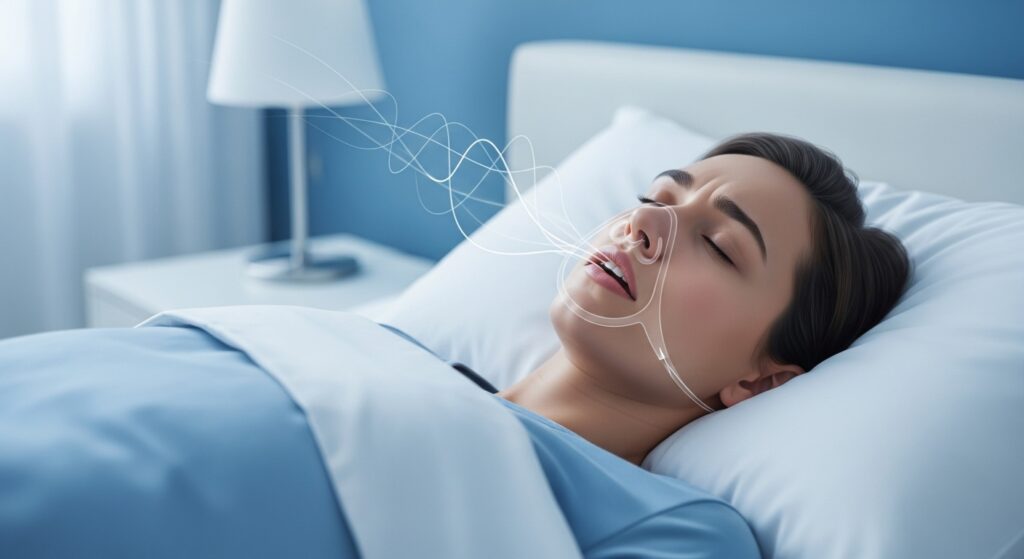
These compact, user-friendly devices measure critical data points while you sleep, including:
-
Breathing patterns and airflow
-
Blood oxygen levels (SpO2)
-
Heart rate and pulse
-
Body position and movement
This data helps identify signs of sleep apnea. You’ll attach a few simple sensors yourself using clear instructions. The setup takes just minutes, and most users quickly forget they’re wearing anything. Importantly, sleeping in your own bed provides data that reflects your true, natural sleep habits, a key benefit of a sleep apnea test at home.
Preparing Your Sleep Environment for the Test
Your goal is to make your test night as normal as possible. A proper environment is crucial for an accurate sleep apnea test at home.
-
Choose a Typical Night: Select a night with a normal bedtime and no interruptions.
-
Optimize Your Bedroom: Ensure the room is quiet, dark, and at a comfortable temperature.
-
Prepare the Device: Fully charge the kit or install fresh batteries as instructed.
-
Avoid Stimulants: Steer clear of caffeine and heavy meals close to bedtime, as they can disrupt sleep architecture.
Review All Instructions Before Bed
Never skip the manual. Before your test night begins, thoroughly review the provided guide or instructional app. Confirming you know how to prepare for your sleep apnea test at home by reading first prevents simple errors that can compromise your data. If your device uses an app, ensure Bluetooth/Wi-Fi is enabled on your phone.
Organize and Prepare Your Equipment
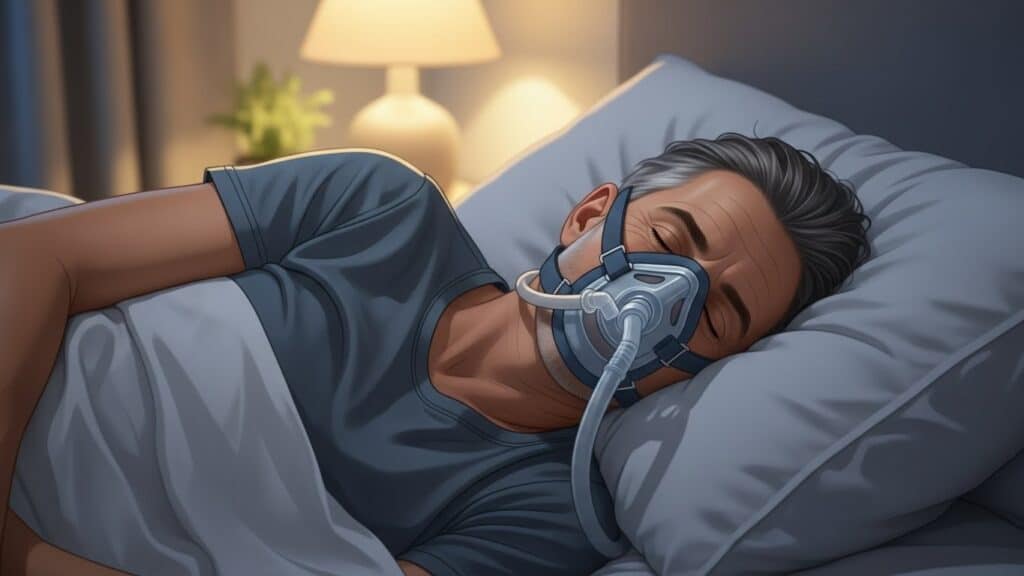
Lay out all device components on your nightstand before starting. Common items include:
-
A fingertip pulse oximeter
-
A chest sensor belt
-
A nasal airflow cannula
-
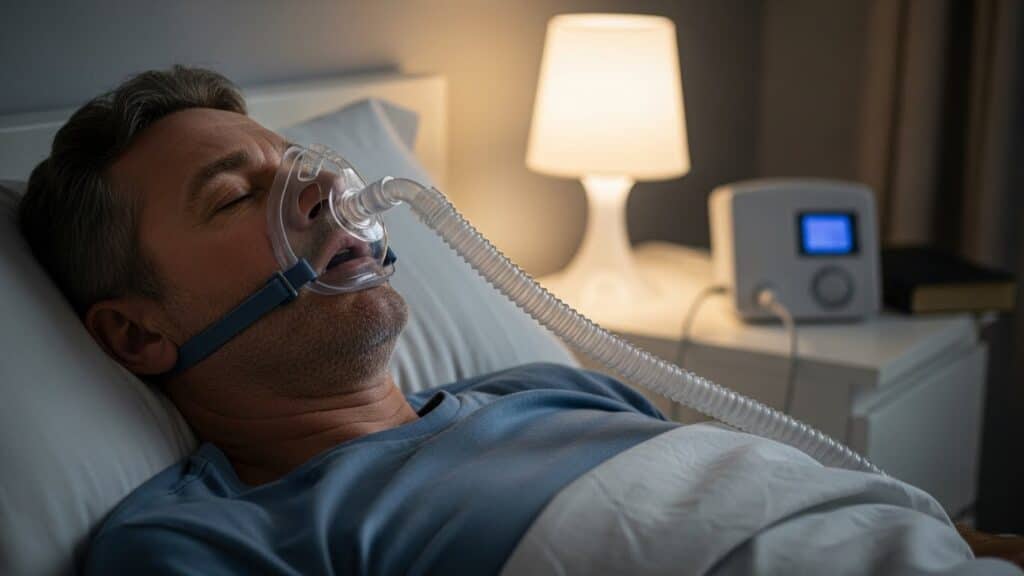
A central recording unit
Check that all straps and sensors are comfortable and secure. Making adjustments before bed prevents mid-night discomfort and ensures the sensors stay in place for the entire sleep apnea test at home.
Correctly Attach the Device at Bedtime
When it’s time to sleep, follow the instructions step-by-step. Most devices have indicator lights to confirm proper sensor placement. The key is maintaining good skin contact throughout the night. After a quick practice, the process becomes simple. Once attached, settle into your usual sleep position.
Maintain Your Regular Nightly Routine
Consistency is critical for a successful sleep apnea test at home. Do not alter your routine.
-
Avoid Daytime Naps: This helps you fall asleep naturally at your regular time.
-
Follow Your Normal Schedule: Stick to your usual pre-bed activities.
-
Use Your Typical Pillows and Bedding: Familiarity promotes natural sleep.
The Morning After Your Home Sleep Test
Upon waking, gently remove the sensors. Depending on your device:
-
It may automatically sync data to a cloud portal via an app.
-
You may need to place it in a provided return mailer.
Follow the post-test instructions precisely to avoid delays in processing your sleep apnea test at home results. If an upload is required, verify it completes successfully
Helpful Tools for Preliminary Screening
Some individuals prefer a preliminary check before committing to a full sleep apnea test at home. A popular option is an AI-powered facial scan, which analyzes facial structure for common sleep apnea risk markers. Important: This quick face scan is a screening tool, not a diagnostic replacement for a medical-grade sleep apnea test at home, but it can be a helpful first step.
Pro Tips for a Flawless Experience
-
Skip Lotions & Oils: Do not apply them where sensors will adhere.
-
Charge Your Phone: Ensure it’s at 100% if an app is required.
-
Minimize Disruptions: Keep pets and children away from the equipment.
-
Move Naturally: Try to sleep normally, but avoid excessive twisting that could dislodge sensors
Why Preparation is Non-Negotiable
Proper preparation for your sleep apnea test at home prevents the need for a costly and inconvenient retest. When the equipment is placed correctly and the environment is controlled, home studies provide physicians with highly reliable data. Following this guide is the best way to ensure your first attempt is successful.
Final Thoughts and Your Next Step
Completing your sleep apnea test at home with confidence comes down to preparation. By optimizing your space, understanding your device, and sticking to your routine, you pave the way for accurate results and clearer health insights.
Ready to begin your journey to better sleep? Start with our free, quick AI Facial Scan to assess your risk before taking the full medical-grade sleep apnea test at home.