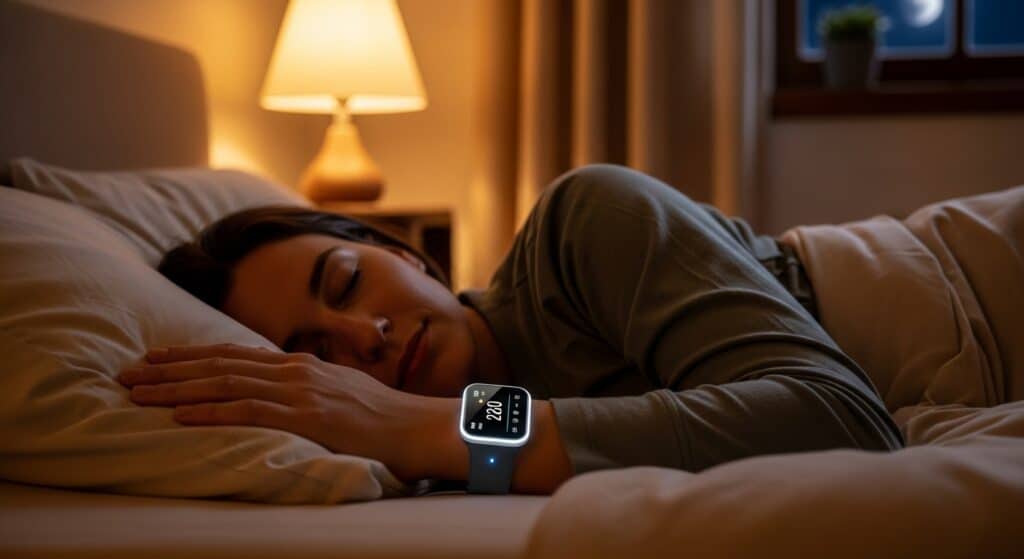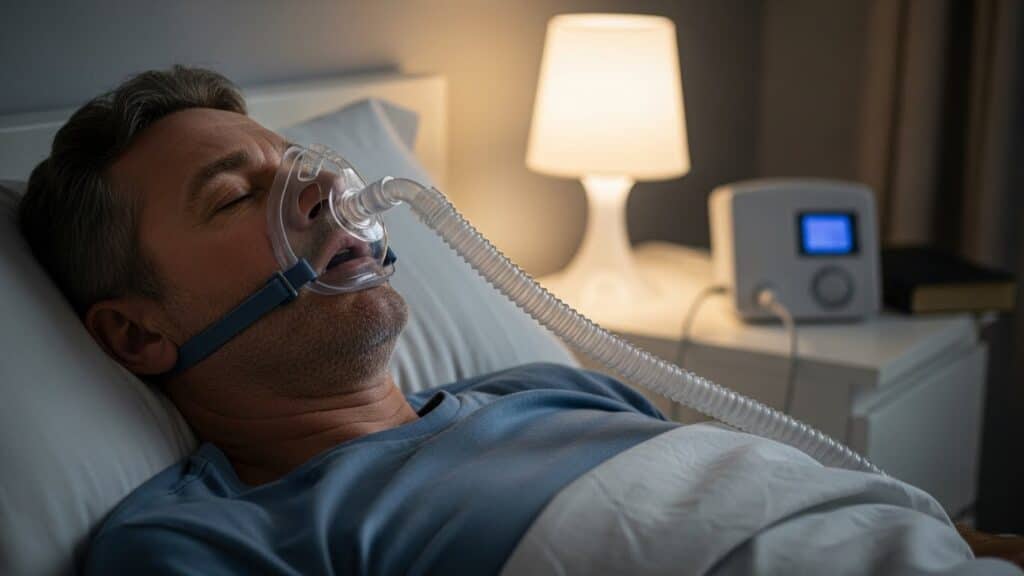
One of the biggest frustrations for CPAP users? Leaks. Air hissing out the side of your mask doesn’t just reduce the effectiveness of your therapy—it disrupts sleep, dries out your mouth, and can trigger frustration that leads to giving up altogether. But what if zero leak mask fit wasn’t complicated? What if you could dial in the perfect fit in just 5 minutes?
Let’s break down how a few quick adjustments and the right techniques can transform your CPAP experience.
Why Mask Leaks Happen
CPAP masks come in all shapes and styles—from full-face to nasal pillows—but they all share one goal: keeping air pressure steady while you sleep. When leaks occur, it’s often because of:
- Incorrect size or shape for your face
- Overtightening, which can cause gaps instead of sealing them
- Facial hair or skin oils that prevent the cushion from sealing
- Movement during sleep that shifts the mask
The issue is widespread. In fact, according to research on CPAP adherence, mask discomfort and leak are among the top reasons patients abandon treatment. So mastering the fit quickly isn’t just about comfort—it’s essential for long-term success.
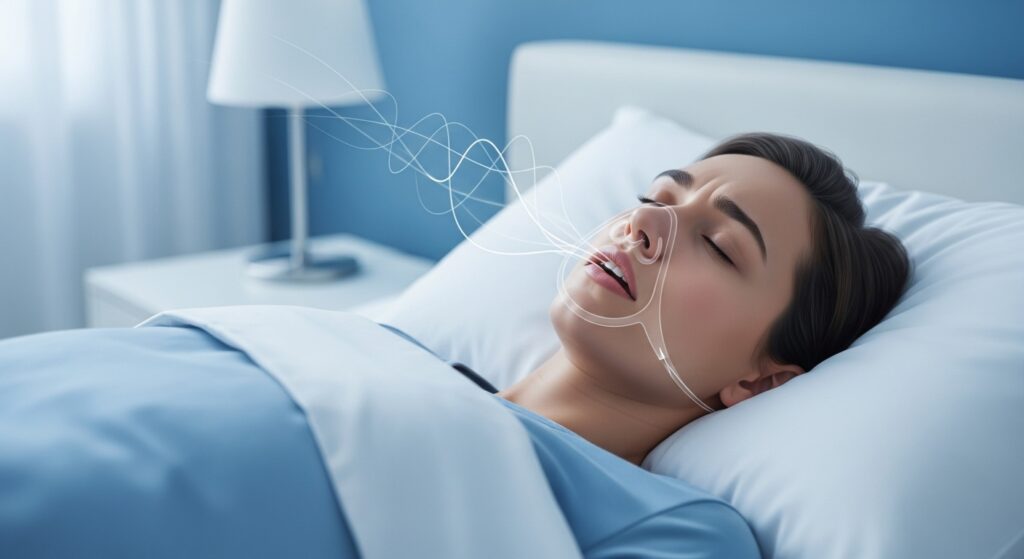
Why a Zero Leak Fit Matters for Health
When leaks occur, air pressure drops, reducing the device’s ability to keep your airway open. That can allow apnea events to slip through, affecting oxygen levels, brain activity, and heart rate. Worse, leaks often lead to:
- Mouth dryness or nasal congestion
- Increased AHI (Apnea-Hypopnea Index)
- False alarms or poor data from your machine
- More awakenings, fragmented sleep, and less REM
Even minor leaks can cause big problems over time. According to the American Sleep Apnea Association, consistent airflow is vital to keeping the airway open during the night. So a zero-leak fit isn’t optional—it’s foundational.
Step-by-Step: Secure Fit in Under 5 Minutes
Achieving a proper seal is all about technique over force. Here’s a step-by-step approach to get it right quickly:
Step 1: Clean Your Face and Mask
Oil, sweat, or moisturizer can break the seal. Wash your face with mild soap and pat dry. Clean the cushion of the mask with a fragrance-free wipe or warm water.
Step 2: Start Loose, Not Tight
Begin with your headgear loosened. Place the mask gently over your nose and mouth (or nose alone, depending on type). Then lie down in your normal sleep position.
Why lie down? Because gravity shifts your face slightly—what fits sitting up may leak when lying down. The Sleep Foundation recommends fitting your CPAP mask in your sleeping position for better accuracy.
Step 3: Power On Before Tightening
Turn on your machine before tightening. Let the airflow help “inflate” the mask’s cushion. Then gently tighten the straps just enough to stop any leaks—no need to clamp it down.
Over-tightening is a common mistake. It causes the cushion to collapse, creating leaks instead of preventing them.
Step 4: Do the Leak Test
Place your hand near the edges of the mask. If you feel air blowing out, adjust just that side. Often, it only takes a tiny tweak. If the mask has adjustable forehead support or nose bridge, use it to even out pressure points.
Most modern CPAP machines also have a “mask fit” setting that will let you test for leaks with visual indicators. If yours does, use it.
Step 5: Final Check While Breathing Deep
Take a few slow, deep breaths. Turn your head side to side, roll to your preferred sleep side, and mimic your normal breathing rhythm. If the mask stays quiet and snug, you’re ready to sleep.
Smart Hacks for a Leak-Free Night
If you’re still dealing with leak issues, try these additional tips:
- Use a CPAP pillow with cutouts to accommodate mask frames
- Consider mask liners that improve comfort and reduce movement
- If you’re a side sleeper, explore minimal-contact nasal masks
- Use a mirror to check for proper alignment
- Replace cushions regularly—worn-out silicone won’t seal well
And remember, facial shape can change slightly over time, especially with weight loss or aging. What fit last year might not work this year.
What to Do If You Can’t Get a Good Fit
Sometimes, despite your best efforts, the mask just doesn’t suit your face. If you’ve tried all the above and still feel air leaking or experience poor sleep, it may be time to:
- Switch to a different mask type (e.g., from full-face to nasal)
- Explore newer-generation masks with adaptive cushion tech
- Ask your sleep provider for a fitting session
Many newer masks feature auto-adjusting seals that adapt to facial movement or allow for “memory” of your unique shape. Some even integrate AI-driven leak detection, providing real-time feedback during the night.
Can a 5-Minute Fit Really Hold All Night?
Yes—if done correctly. What matters isn’t time spent tightening, but how well the mask naturally conforms to your facial features. Studies like those from PubMed show that better technique correlates with fewer mask replacements, improved compliance, and more hours of CPAP usage per night.
And the good news? The more you practice these steps, the faster and more intuitive they become.
Why Getting This Right Is Worth It
Your CPAP device is only as effective as your mask fit. Every leak dilutes pressure, lowers oxygen delivery, and disrupts your rest. By mastering the 5-minute zero-leak routine, you’re not just improving comfort—you’re maximizing therapy, protecting your brain, heart, and metabolic health.
It’s a small nightly habit with huge ripple effects.
Book a Fit Check or Try a New Mask Today
Mask fitting in minutes—no sleep lab needed
Explore adaptive masks for unique face shapes
Support for first-time users and seasoned CPAP patients
Let’s help you breathe right all night—without the leaks.